Build Your Own Epic DIY Wood Trellis: Upgrade Your Backyard on a Budget
Build Your Own Epic DIY Wood Trellis: Upgrade Your Backyard on a Budget
Picture this: You've got a packed schedule—work grinding away, weekend errands stacking up—but that backyard? It's calling your name. You want a spot to kick back with a cold one, maybe fire up the grill, without it looking like a blank canvas. A killer wood trellis changes everything. It supports those climbing vines for instant greenery, adds privacy from nosy neighbors, and screams 'I've got my sh*t together' without breaking the bank.
We're talking durable builds that laugh at weather, using stuff you can grab from the hardware store. No fancy skills needed—just some sweat and a free weekend. Let's dive in and make your outdoor space the envy of the block.
Why Bother with a DIY Wood Trellis?
Store-bought ones? Overpriced junk that warps in a season. Build your own, and you're looking at bombproof results for pennies. It's perfect if you're juggling a busy life but crave that peaceful retreat to unwind after a long day—vines twisting up, shading your setup, turning chaos into your personal oasis.
- Supports heavy climbers like clematis or grapes without sagging.
- Boosts privacy for those low-key hangs.
- Custom sizes fit your exact space—no compromises.
- Wood's natural vibe levels up any backyard aesthetic.
Your Shopping List: Materials & Tools
Grab these, and you're set. Total cost? Around $40-60, depending on wood prices in your area.
Materials:
- 4x 8-foot **pressure-treated 2x4s** (cedar if you want that premium look)
- 20-30 **galvanized deck screws** (3-inch)
- Wood stain or sealant for weatherproofing
- Optional: Landscape fabric for weed block under the base
Tools:
- **Circular saw** or handsaw
- **Drill** with bits
- **Miter saw** (or mark and cut carefully)
- **Tape measure** and **speed square**
- **Clamps**, sandpaper, and safety gear
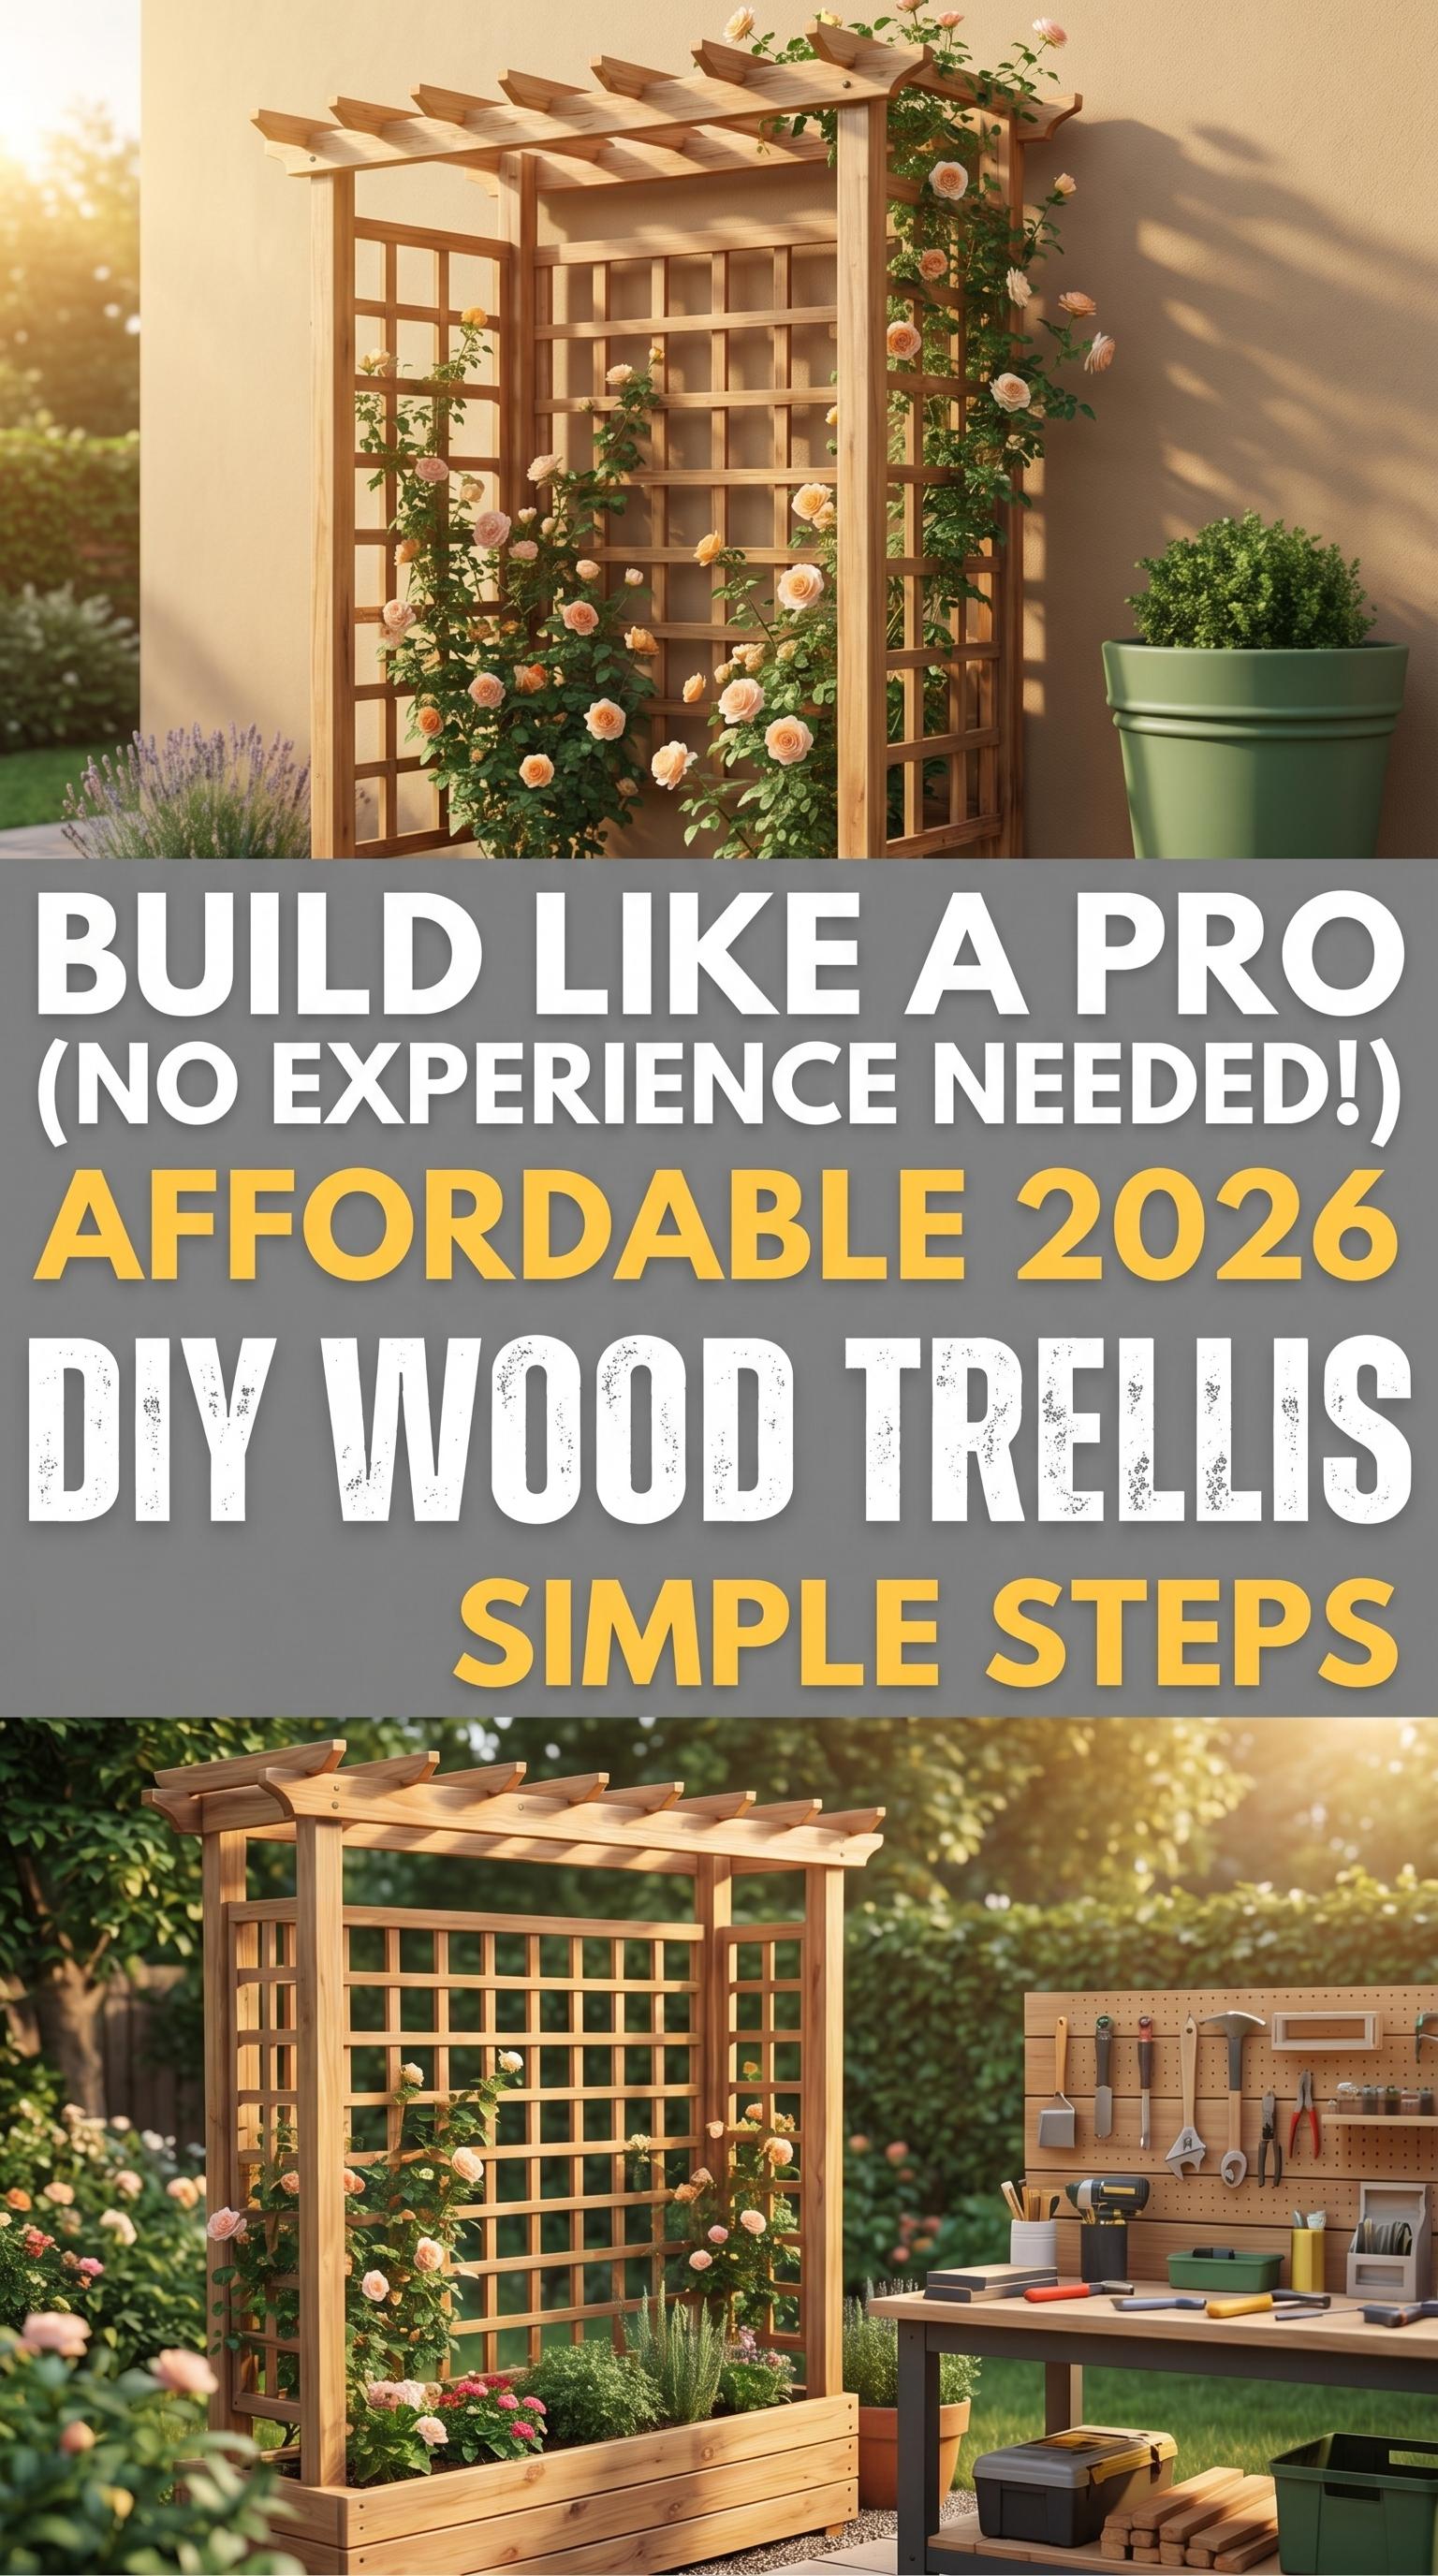
Project 1: The Classic A-Frame Trellis (Easiest Weekend Win)
This bad boy's freestanding, 6 feet tall, and ready for vines in hours. Perfect for pots on a balcony or corner of the yard.
- Cut the legs: Two 2x4s at 72 inches for sides, crosscut four at 24 inches for braces.
- Assemble the A: Lean two legs together at 60-degree angle, screw cross braces 12 inches from top and bottom.
- Add lattice: Rip remaining 2x4s into 1x2 strips, nail horizontally every 12 inches.
- Stain and plant: Seal it up, sink into soil, and watch it thrive.
Pro tip: Anchor with rebar stakes if windy—zero wobbles.
🎥 Watch a Similar Tutorial on YouTubeProject 2: Wall-Mounted Privacy Beast
Got a fence or blank wall? Mount this 8-foot tall panel for ultimate screening. Ideal for hiding the neighbor's mess or framing your fire pit zone.
- Frame it: Build a 24x96-inch rectangle with 2x4s, add diagonal brace.
- Lattice time: Weave or screw 1x2 slats diamond-style for that modern edge.
- Mount secure: Use heavy-duty brackets screwed into studs or posts.
- Finish strong: Two coats of outdoor stain, plant jasmine at the base.
Takes two afternoons max. Result? Shaded, private paradise.
Tips for Trellis Domination
- Choose rot-resistant wood like cedar or treated pine—lasts years.
- Plant fast-growers: Honeysuckle for scent, ivy for coverage.
- Maintenance? Annual stain refresh keeps it looking fresh.
- Scale up: Double the width for an arbor entrance.
Level Up Your Backyard Game
There you have it—your ticket to a backyard that actually feels like home. No more staring at empty space; now it's vines, chill vibes, and that satisfying 'I built this' glow. Grab the tools, hit the yard, and transform it this weekend. What's your first plant pick? Drop a comment—let's chat builds!
