DIY Wood Trellis Ideas: Elevate Your Balcony Garden Without the Fuss
By Christopher Snyder
DIY Wood Trellis Ideas: Elevate Your Balcony Garden Without the Fuss
Hey there, if you're juggling a busy schedule but dreaming of a lush, green escape on your balcony or tiny patio, I've got you covered. These DIY wood trellis projects are all about adding that effortless style to your space—think climbing vines, soft blooms, and zero high-maintenance drama. Perfect for making your urban nook feel like a secret garden retreat where you can unwind with a glass of wine after a long day.
We'll dive into simple builds that fit small spots, using weather-resistant wood that holds up to city weather without constant upkeep. Ready to get your hands a little dirty for big rewards? Let's scroll through some inspo and jump right in.
Why a DIY Wood Trellis is Your Balcony Game-Changer
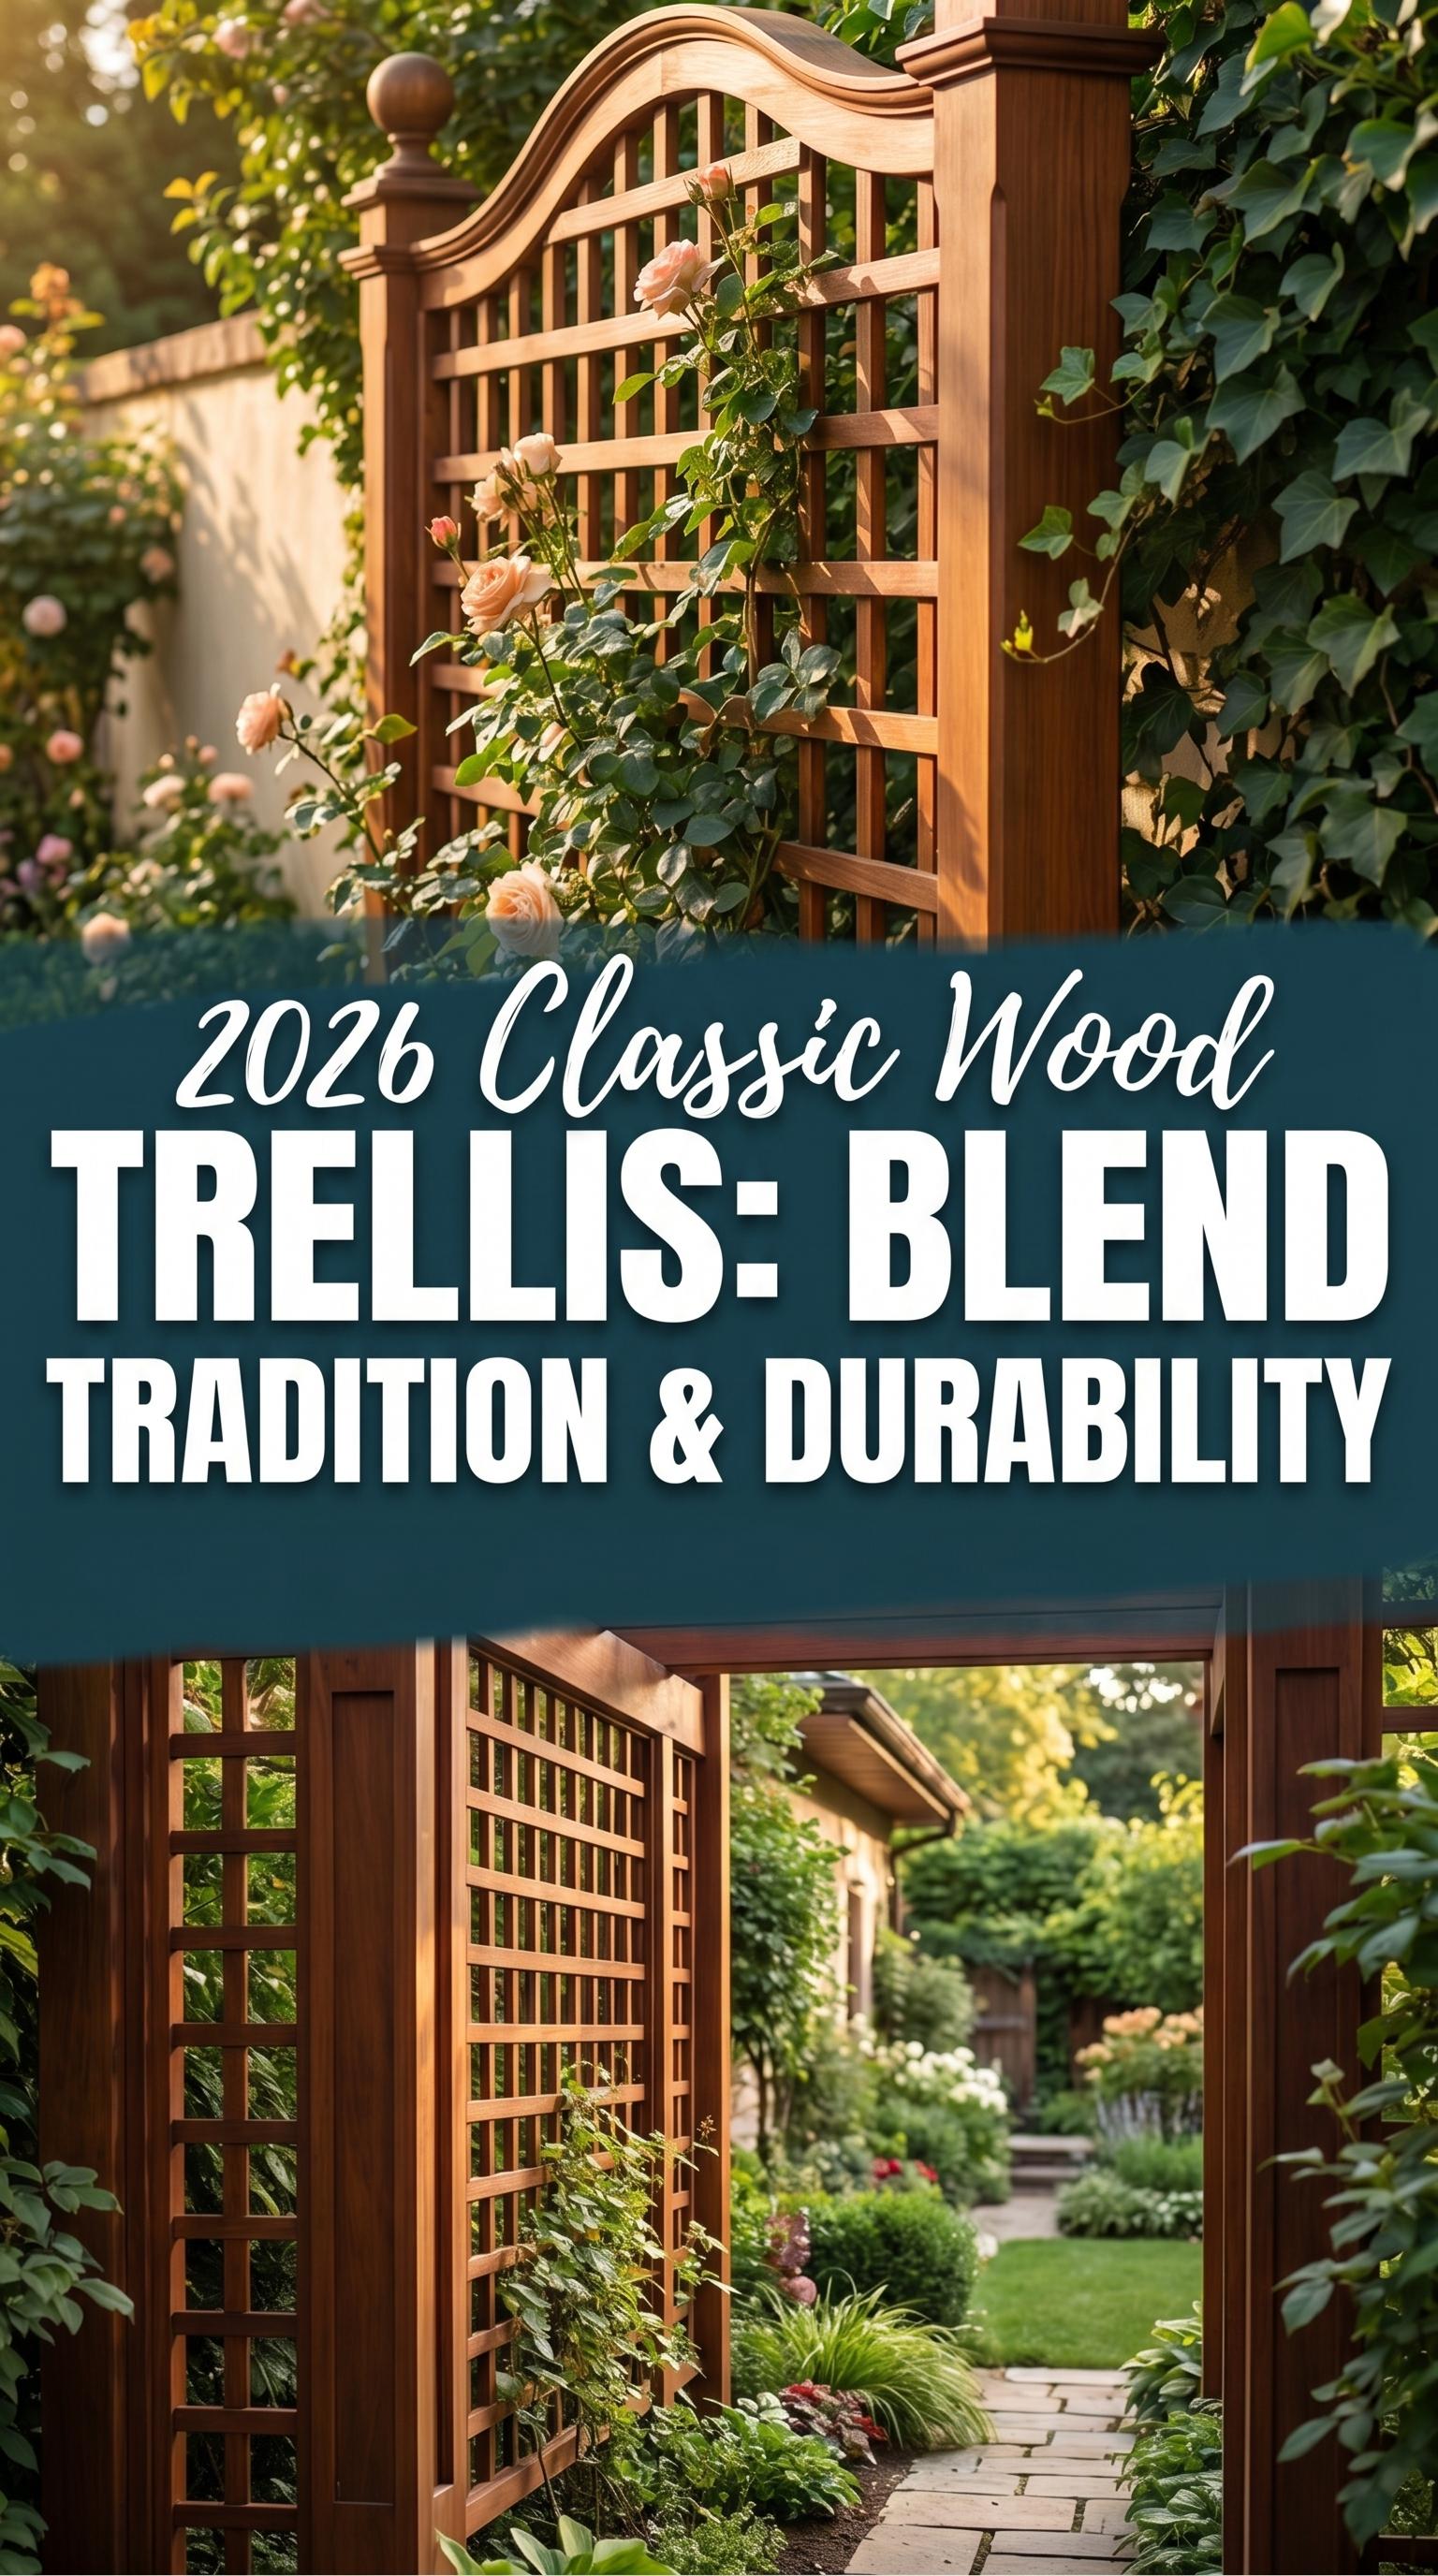
Vertical gardening is a lifesaver for tight spaces. A sturdy trellis lets your favorite climbers—like clematis, jasmine, or even petite roses—stretch up instead of out, freeing up precious floor room. Plus, wood adds that warm, natural vibe that makes everything feel cozier. No more bland walls; hello, living art!
- Maximizes sunlight for healthier plants
- Creates privacy from nosy neighbors
- Super customizable to match your aesthetic
- Low-cost compared to store-bought options
Your First Project: The Sleek Balcony Lattice Trellis
This beginner-friendly design uses slim cedar slats for a modern look that won't overwhelm your space. It's lightweight, easy to mount on a railing or wall, and built to last seasons without warping or peeling.
Materials & Tools
- 2x2 cedar lumber (4 pieces, 8 ft each)
- 1x2 cedar slats (20 pieces, 4 ft each)
- Exterior wood screws (2-inch and 1.5-inch)
- Wood glue
- Sandpaper (220 grit)
- Miter saw** or handsaw
- Cordless drill**
- Measuring tape** and pencil
- Optional: Outdoor wood sealant
Quick Build Steps
- Cut your 2x2s to 6 ft for the frame sides and top—keep the bottom open for easy planting.
- Space the 1x2 slats 4-6 inches apart on the frame, securing with glue and screws for that lattice magic.
- Sand smooth, seal if desired, and attach to your balcony rail with heavy-duty brackets.
- Plant at the base and watch it bloom!
Total time: About 2 hours. Cost: Under $50. See it come together below for visual inspo.
🎥 Watch a Similar Tutorial on YouTubeProject Two: The Rustic A-Frame Trellis for Pots
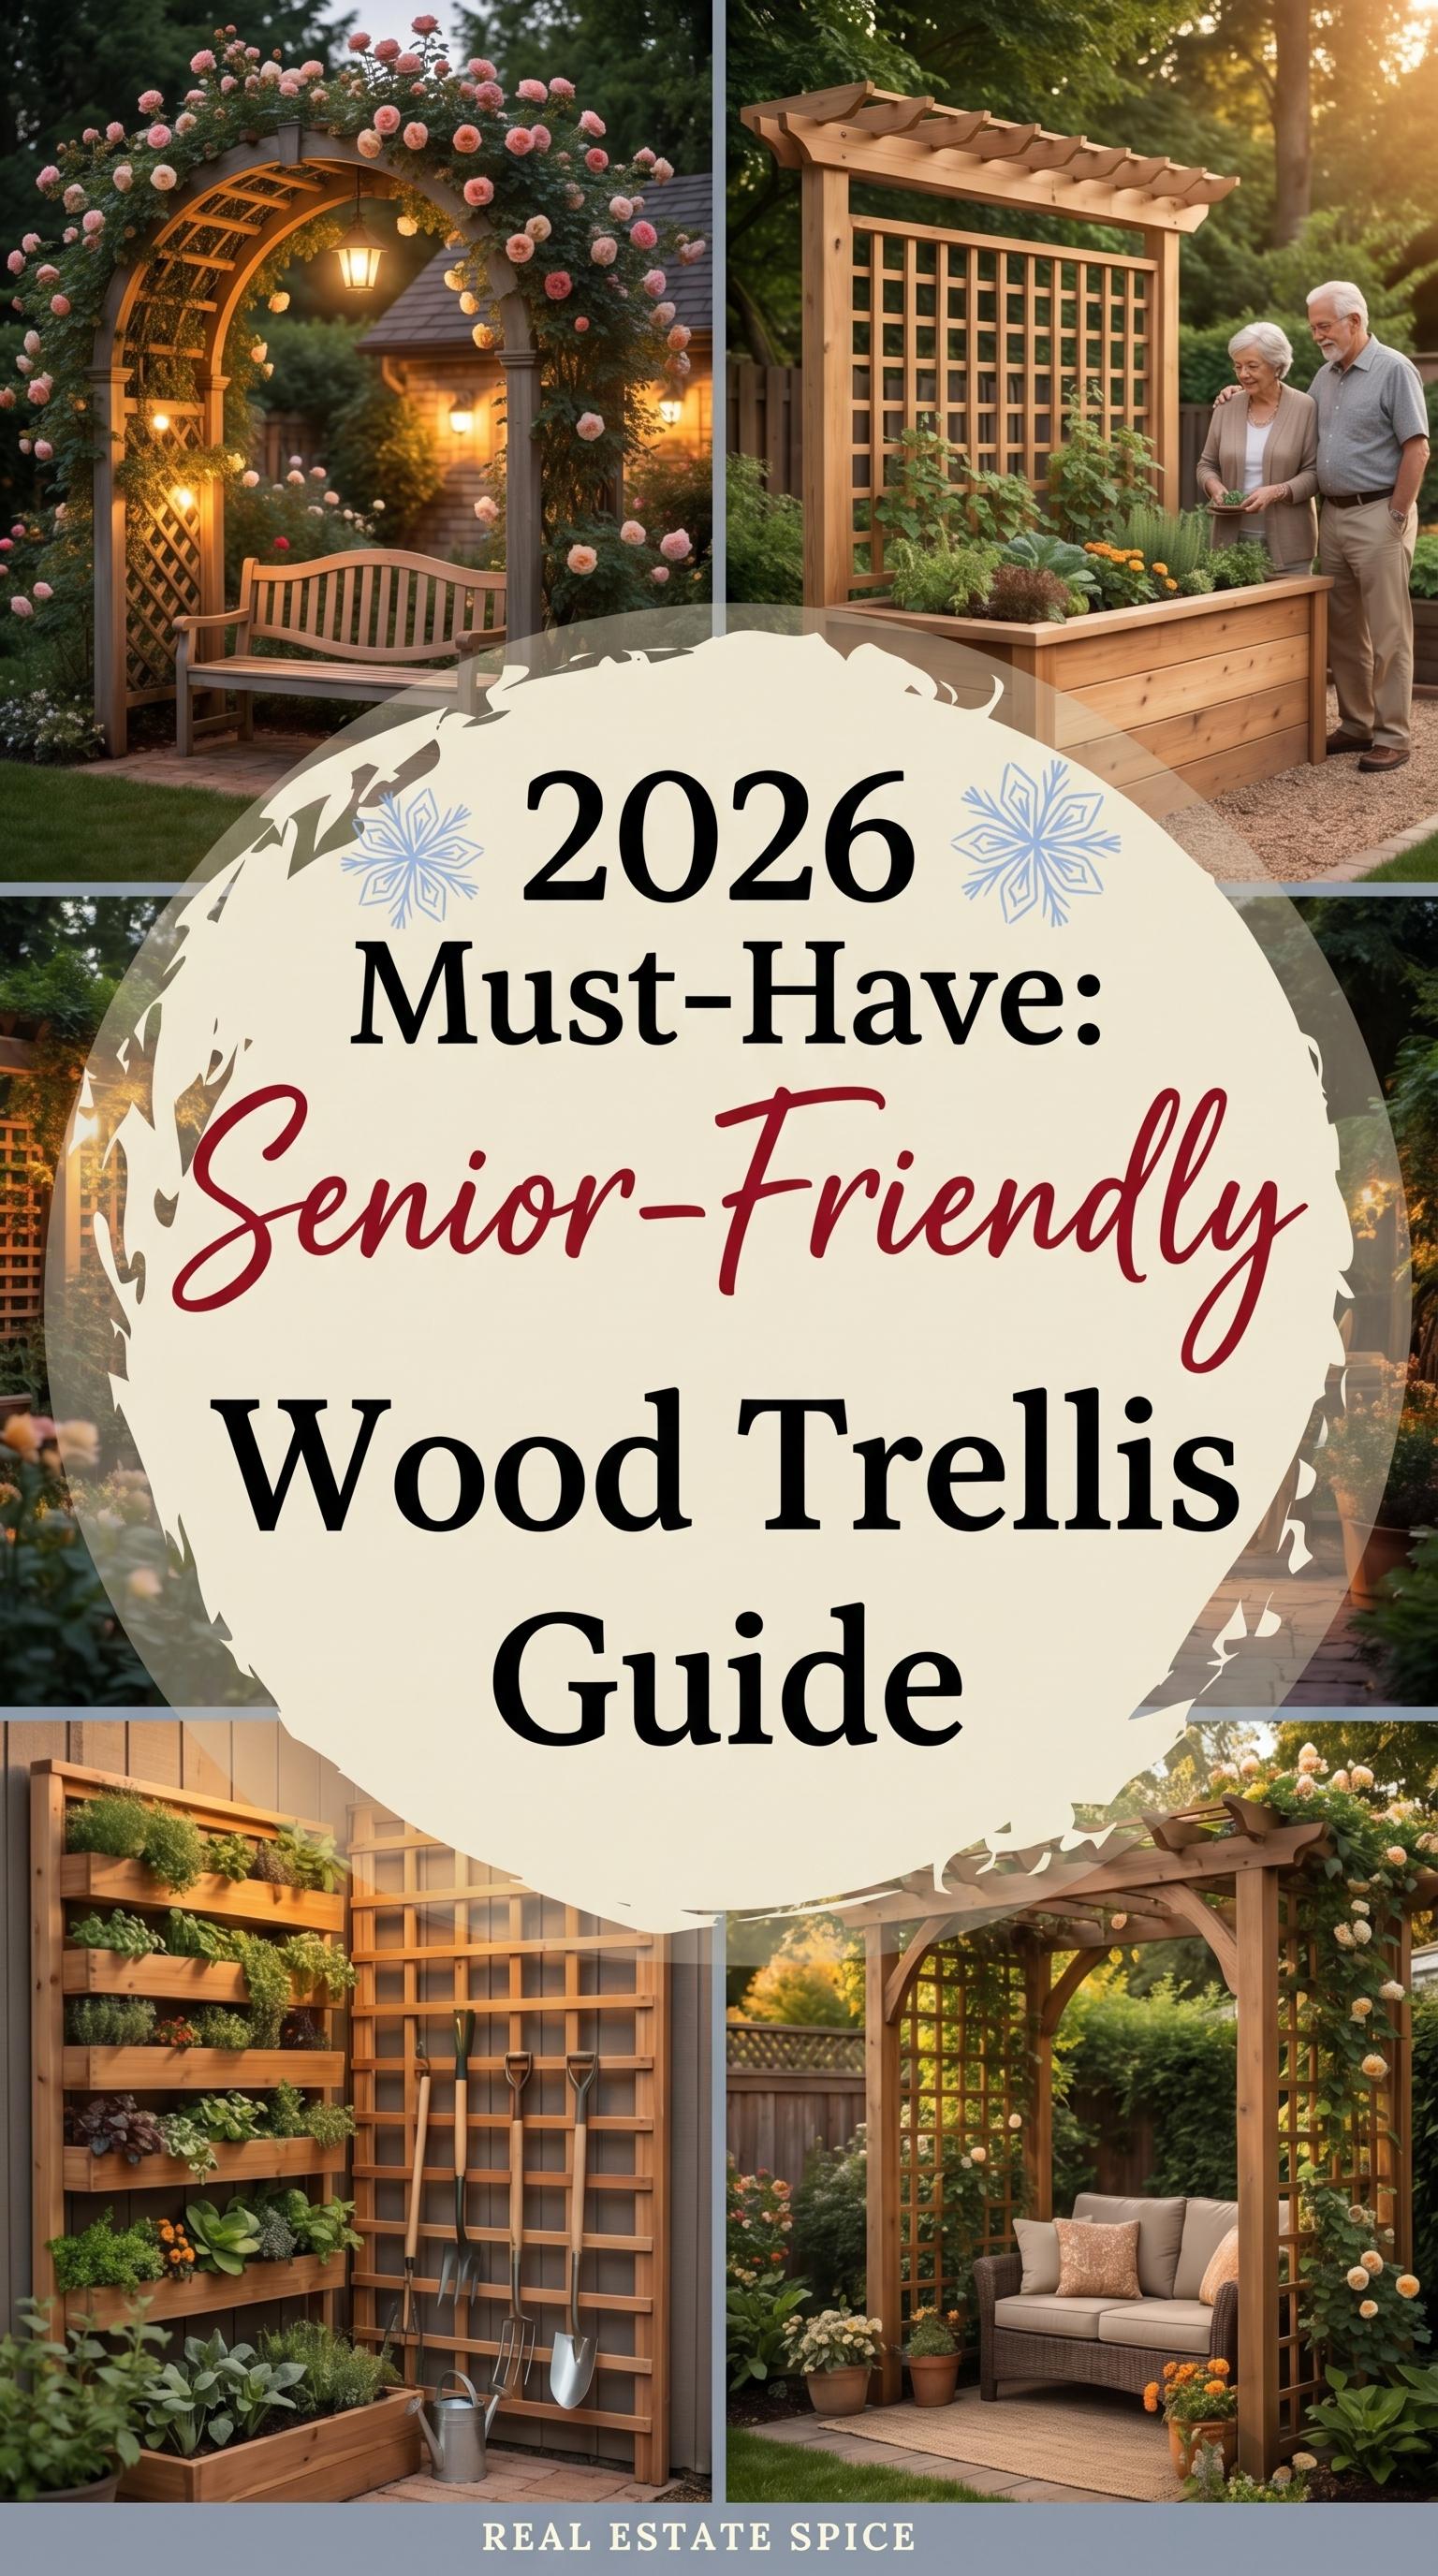
Freestanding and foldable, this one's ideal if you love rearranging your setup. Use reclaimed wood for that chic, lived-in feel—perfect for pots of sweet peas or morning glories that trail beautifully.
- Build two A-shaped sides with 2x4s crossed at the top.
- Add horizontal supports and diagonal braces for stability.
- Plant heavy pots at the base to weigh it down—no drilling required.
It's movable, so you can chase the sun around your patio. Pro tip: Pair with solar lights for evening glow.
Low-Maintenance Tips to Keep It Looking Fresh
You don't have time for constant upkeep, so here's how to make your trellis thrive effortlessly:
- Choose self-clinging vines like ivy or honeysuckle—they grip without ties.
- Seal wood annually with a breathable stain to fend off moisture.
- Prune once a season; nature does the rest.
- Mulch bases to cut watering needs by half.
Styling Your Trellis for That Wow Factor
Paint it soft sage for a modern twist, or leave it natural for boho charm. Drape fairy lights through the slats for date nights, or hang bird feeders from the top. Mix in herbs like thyme for a fresh-picked cocktail garnish—your balcony just became the envy of the block.
These projects are forgiving, forgiving, and oh-so-rewarding. Grab your tools this weekend and turn that blank space into your personal oasis. What's your first vine pick? Drop a comment—I'd love to hear!